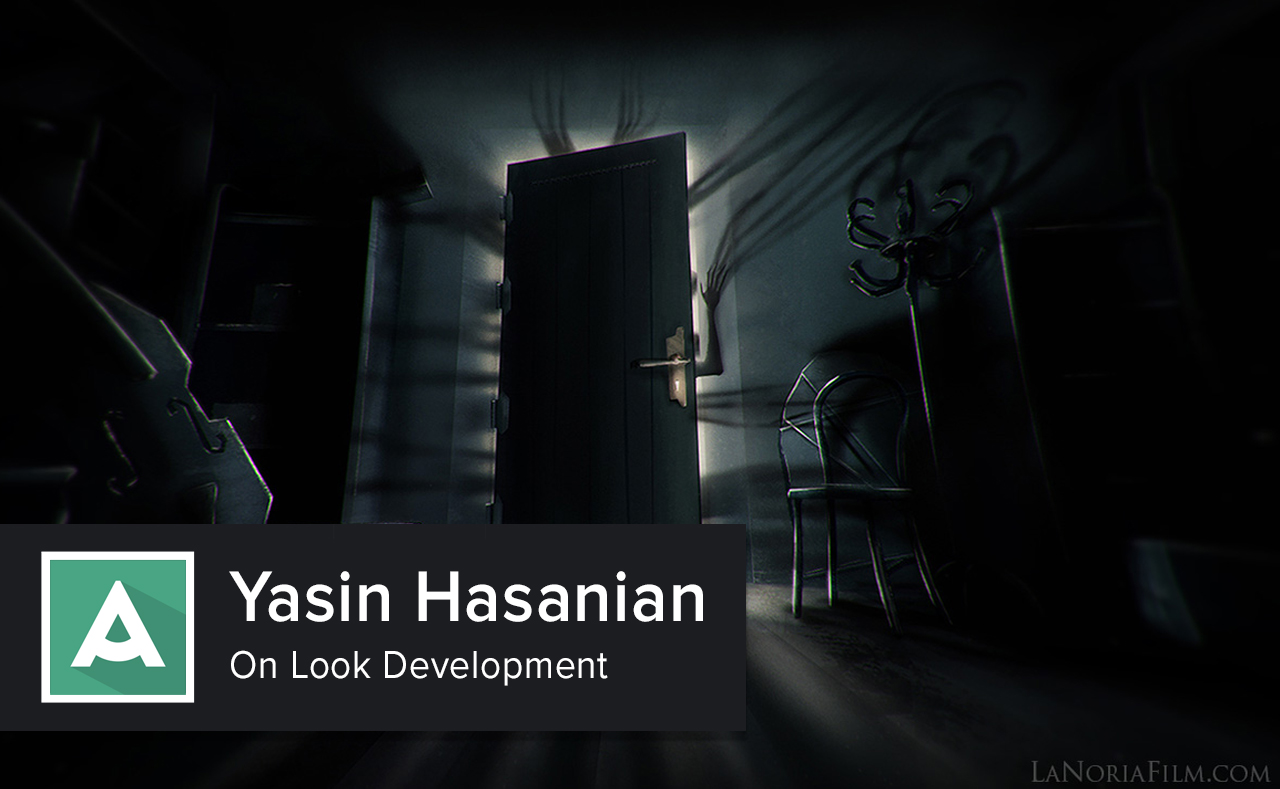
By: Yasin Hasanian
Role: CG Supervisor | Project: La Noria
What is Look Development?
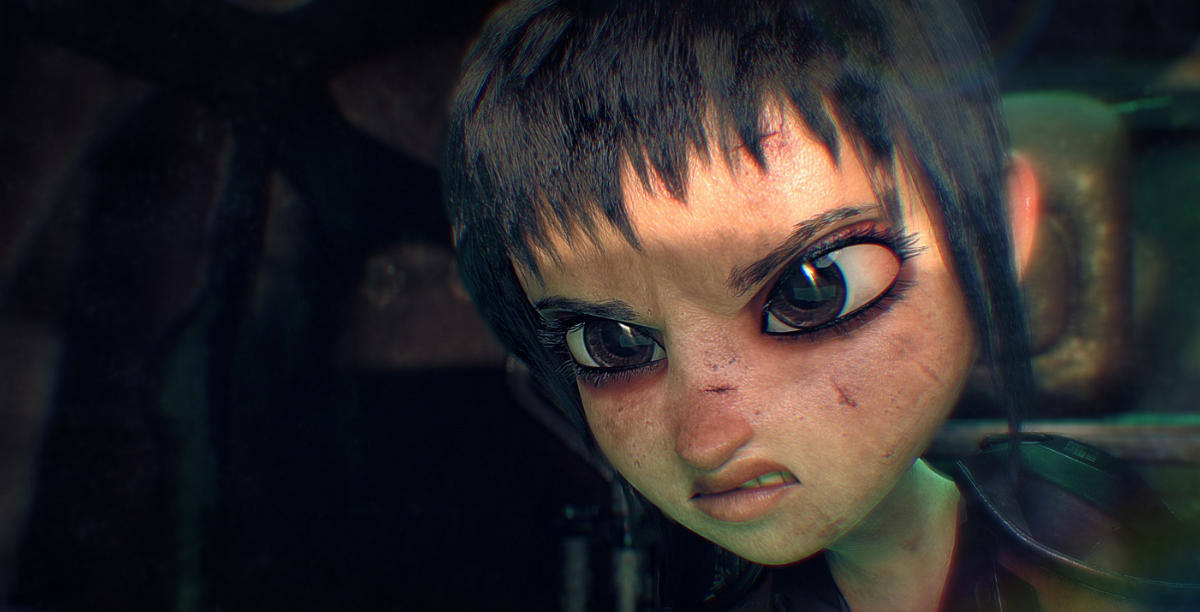
In live action VFX or CG productions, there is always a need to explore potential looks a scene or object could have to ensure the final product in both story and aesthetics will look its best.
Look development could have different meanings in various places but per-se it’s the notion of how the project would look and feel like in the end. In fact, anything in production that rapidly iterates through phases of achieving specific looks can be called look development, it could range from speed painting ideas on paper all the way to rapid experimentation of 3D models shading which is more commonly known as. Look development and lighting have direct relation to each other helping to deliver mood and emotions to the audience, if either of them changes, it affects the look of the other one. Generally, during this stage, a scene or asset could go through many iterations such as changes in colors, reflections, different lighting setups, so on and so forth, finally, it’s on director’s hand to select a look among all the provided options.
What is covered in Look Development?
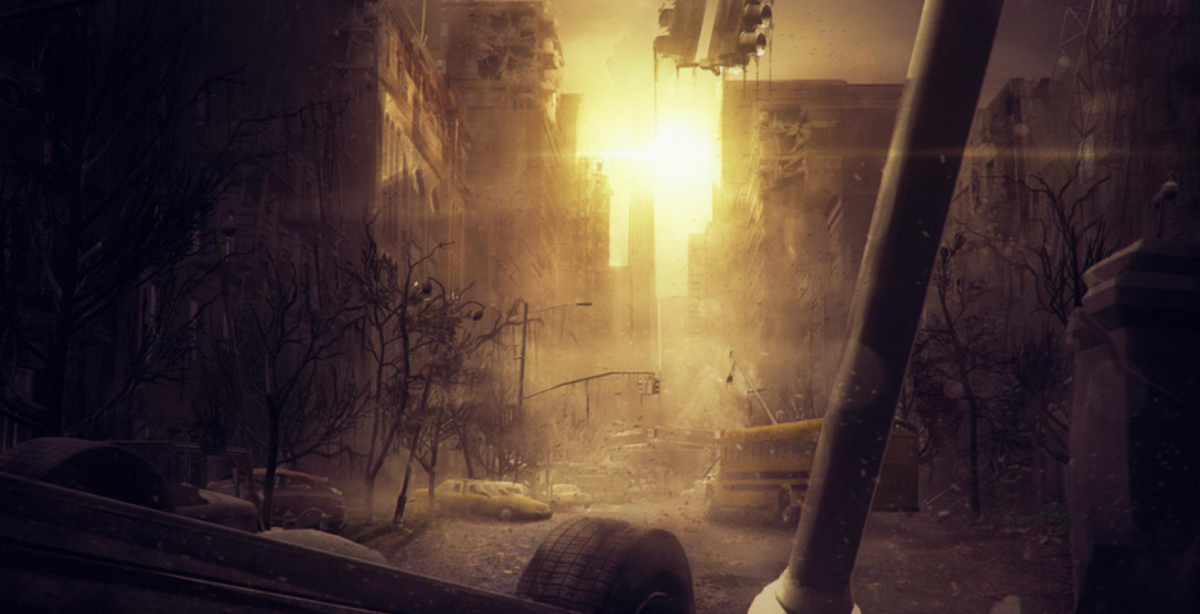
Let’s consider two main look dev phases, 2D and 3D, as they complement each other because each one is done easier in certain ways while serving different needs. During the 2D process, which takes place prior to the 3D one, it’s important to experiment with different colors, shapes, atmosphere and placement of lights searching for various moods that together can help telling a story. Nonetheless, one thing to keep in mind, is shots continuity while doing look dev, eventually, it defines how moods shift from one scene to another. A single shot or asset could end up having multiple painted versions which is shown to the director so that he/she can better envision certain looks and then decide which way to go. The more the look dev progresses the more detailed it can get, let’s say from overall tones all the way to atmospheric effects such as haze, volume rays and etc causing a “look” gradually getting “developed”. Throughout this stage, details should be just enough to convey the ideas and feelings without getting too elaborate.
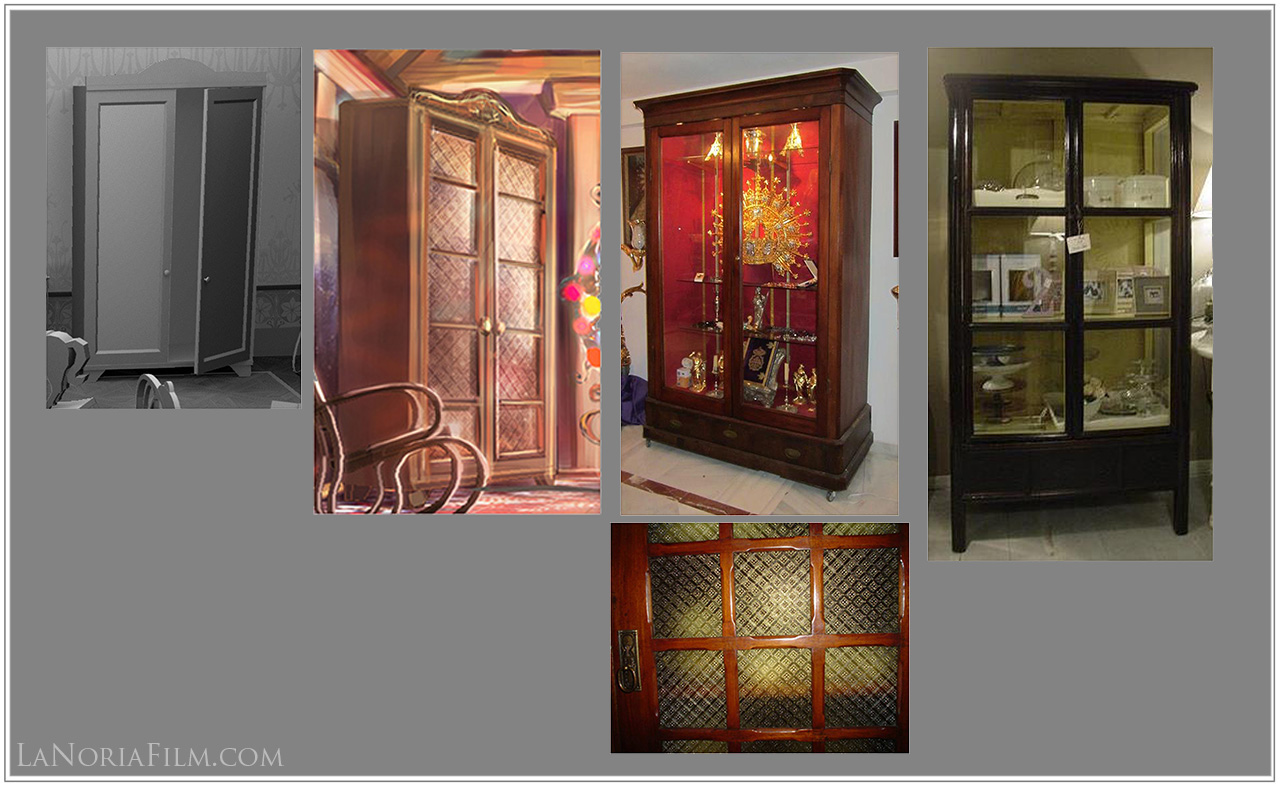
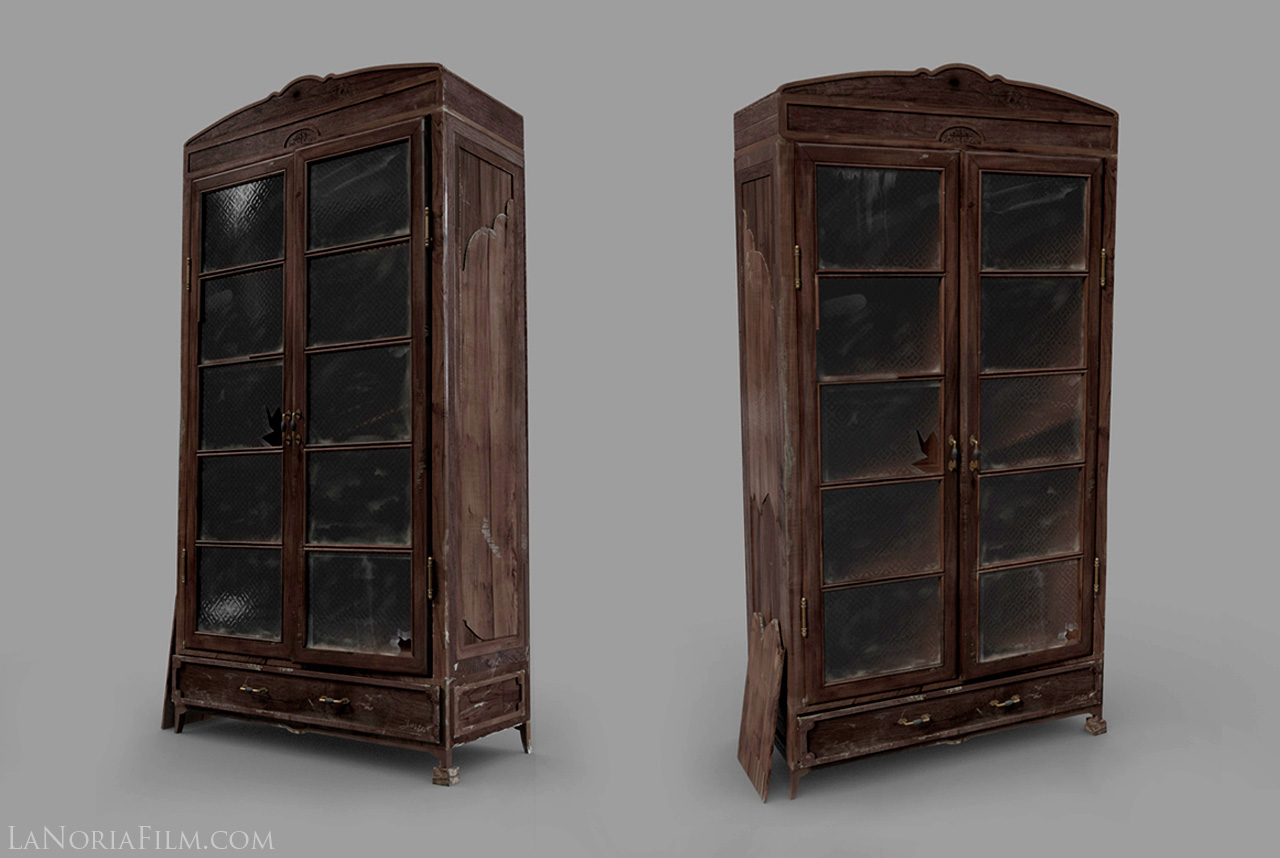
Moving to 3D look dev, it’s commonly began by experimenting with assets shading. This is where different materials for different parts of an objects get constructed and evaluated under varying lighting conditions, thus having real-world references is key in achieving plausible results, it can be images or actual footage of a certain material to be able to study it more in detail finding out its characteristics. There are many BRDF models out there, the popular one these days is GGX distribution which does a nice job modeling specular tails happening on real-world metallic materials. As an exemplification, establishing shader settings for a metal material which its reflections describe its physical behavior, not only requires it to have a proper BRDF model but also does it need to be lit under a decent environment to accurately get evaluated. Similarly just like the 2D workflow, the textures and shaders only need to have enough general details to illustrate the feeling. The idea is simply doing multiple iterations quickly in order to explore different potentialities. Now this, can get extended to lighting too to complement the look dev process.
The previous works both on 2D and 3D wouldget sent to lighting and according to that, couple of explorations and revisions take place to visualize possible mood and emotions through lighting. Worth mentioning all three look dev phases can go fast enough to have the development process getting circulated inside the team rapidly.
When should you start look Development on a project?
As soon as the director shares the thoughts and concept arts on the look of the project (be it film, game, commercial…) with the team, look dev department would get together to start brainstorming ideas how to achieve director’s visions and be able to provide him/her with early designs as soon as possible. It’s essential to find the right plan with manageable time frames to assure every revision and update can get delivered in time. Having said that, during early stages, it’s mainly the 2D team that is until 3D models are created and references provided to be sent to 3D team. Once provided with 3D models, different shading variations gets created to be shown to director, likewise, the same process is valid for lighting.
At first glance, it may seem like a sequential process which is correct for initial passes, however, by the time all prerequisites are prepared such as early concepts, models, shaders, and so on, the whole look dev department would be able to have quick back and forth internally in order to refine outputs as much as possible.
Supposing the director is happy with the latest progresses and general look over different shots, the materials can get finaled by the more focused departments such as the Shading or lighting team. Each studio tends to do this differently, for instance, one place rather final shaders get established right within the look dev department because they already consider look dev as a shading team, another studio has dedicated shading team which zeros in on the textures, colors and materials.
Do’s and Don’ts when doing Look Development
The first thing to keep in mind, is colorspace! It’s a much broader topic, but just to hint at it, It is critical that colorspaces be stringent the whole time, a change in pipeline colorspaces in the middle of the road whether scene-referred or display-referred could cause many issues and send incorrect looks to the final product. The least thing to do, is verifying all the textures and shader parameters are in linear space before fed into the renderer. Renderers calculate, and such calculations never consider non-linear inputs!
To further emphasize previous points, it’s necessary to provide various versions rapidly, ensuring everything is going on the right track constantly; Otherwise, you may find yourself spending a lot of time and energy creating something that may eventually get ruled out. Continuity between shots definitely needs to be of high importance as well. A transparent object might work well under certain lighting but the exact same material might fail to deliver the right look due to lacking certain parameters being worked on already (such as glass roughness). Although the materials are getting tested under varying lighting conditions, reassure you are considering all sorts of possible lighting scenarios that are going to be setup in production, this will help you making shaders more stable and accurate throughout the production.
Regarding lighting, continuity factor can get plenty help from 2D look dev to a large extent because those ones have already passed director approval and pretty much represent the type of lighting in director’s mind. Regardless, once in lighting, try to separate the lighting setup in passes, as long as you have the right light sources, it will save you a lot of time doing multiple iterations very quickly without having to re-render the whole scene.
Lastly, start simple and keep it simple as long as possible! No need to over complicate setups if you are able to get the desired look in simpler ways, of course it varies from production to production, however the aim should be on getting desirable looks in shortest amount of time. If you achieved keeping it simple, then the next department in pipeline will be really grateful to you!

Yasin is currently the CG Supervisor on La Noria. Follow them on Facebook and Twitter.